Showing posts with label ceramics. Show all posts

Tuesday, May 15, 2012

Glaze firing on Mother's Day.

Glaze firings always make me nervous. 
I just never know how they'll turn out.


I've been under-glazing and glazing some ceramic pieces I made a while back.

It takes 3 coats of underglaze, covered by 2 coats of clear glaze, 
to get full colour coverage.


Loading the kiln.


The dog vase, mug, bird and sunfaces are the pieces I am most anxious to see completed,
 as well as a "boob cup" that I'm firing for someone else. 

    
    Checking the witness cones before shutting the lid.


10 hours later, I've unloaded the kiln.
A successful cone 06 firing!
Here's all the glazed pieces that were in there.


The dog is adorable, the sunface mug turned out sweet.
 The colourful bird needs eyes, and the sunfaces need cords to hang by. 

It might be a while, before I get around to taking better photos,
 but some of these pieces might make it to my Etsy shop.
If you see something you'd like, contact me.


Monday, May 7, 2012

Flowers, earrings and things are popping up.


Things are popping up all over... 

Primroses in my front garden.  (ignore the weeds please).

Finally warm enough for the robins to take a bath.

Primroses come in so many colours :)

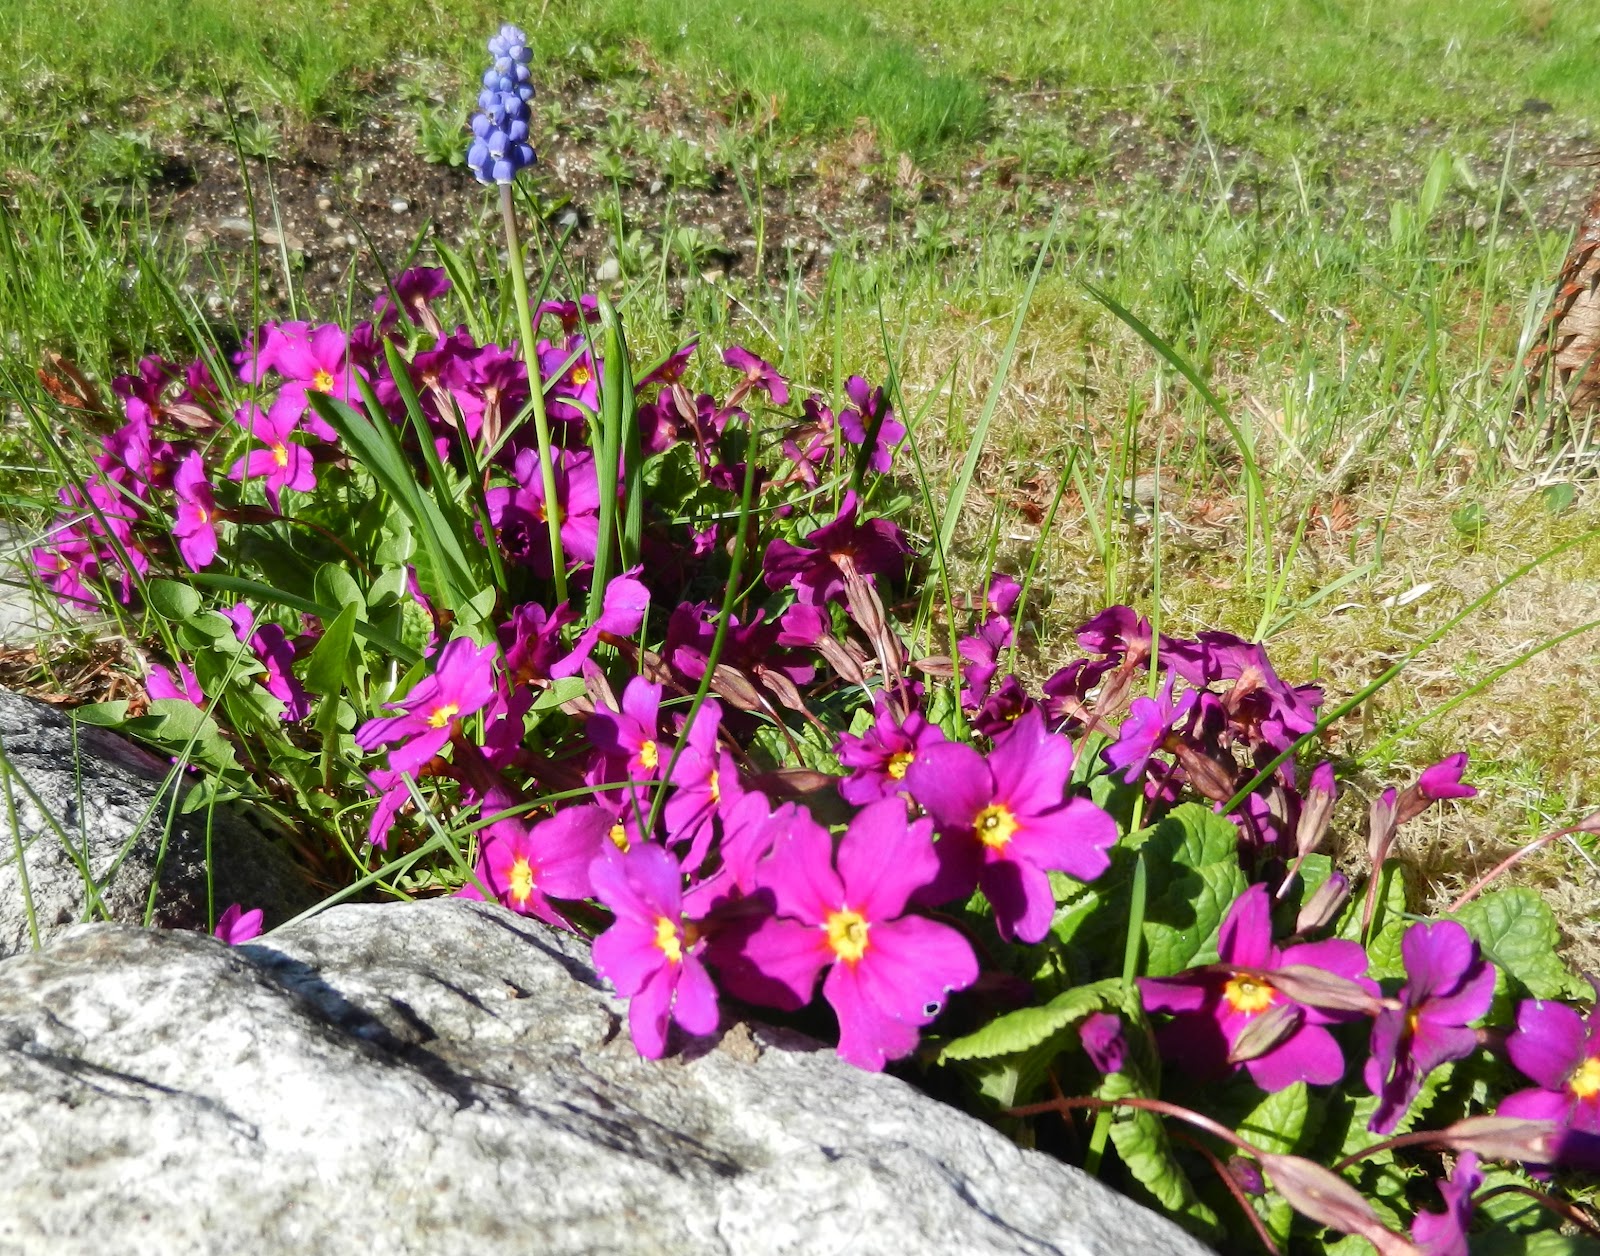
More primroses, with a single grape hyacinth.

 Our magnolia's starting to bloom.


Morel mushrooms.


Spike... he didn't actually pop up.


Some earrings I've just made


You can get them in my Etsy shop soon.


 These pieces have been fired once, and I'm glazing them 
 to be fired soon.

Sunday, January 1, 2012

Big bird clay figure- in progress photos. Part 5

To see previous in progress photos. Part 4


Well, it's New Year's eve, and I really wanted to finish this bird, so
after a lot of procrastinating, I set my mind to it.

I added highlights to his feet, wings and tail...then painted his eyes.


It's so hard to get the eyeballs "just right", but I think I got it.

I'll take better photos tomorrow (in natural light), and then give him a
couple of clear coats, to protect the paint job. Not sure if I should give
him a satin, or matt finish...


Here's the underside... I carved my signature on his foot.

What a perfect way to say goodbye to 2011, finishing the details on
one of my best clay pieces, ever. (It also reminded me that I have a horse
that's still waiting to be painted- he's next.)

Monday, January 18, 2010

A horse with no name


I've always loved horses, and have often thought
about making a sculpture of one.

It's time to stop thinking about it and just doing it...so


I started this clay horse sculpture- over a week ago.
(It's too bad I didn't take photos from the start, but I'm sure
you know what a round ball of clay looks like. That's how it
started.)

I made the legs and hooves first, by rolling out tubes of clay. I formed
the head, added ears and then covered them in plastic so they wouldn't dry
out. Later, I rolled out a slab of clay & formed the body from it.

A couple of days later, I made the neck and assembled all the pieces.
Added the mane, bangs and tail.
(I made him sitting down, as he's going to have a little friend, a bunny,
mouse, snail ?...I'm not sure yet, but I'll be making that soon.)

Here it is a couple more days, and I've been doing touch ups here and there,
and now I can let the piece dry... VERY slowly, with a few more touchups.

Once he's completely dry, I'll carefully clean any rough spots and sponge off
any excess dust, markings, etc.
Then I'll carve my initials in the bottom, and he'll be ready for his first firing.
(Cone 04 bisque firing) Which will take about 8 or so hours, and then
need to cool overnight.
I have a nice light brown (underglaze for bisque) that I plan to use for his coat.
I'll let some of the natural clay show on his belly, it has a nice creamy color.
Then I'll cover him with 2 coats of clear glaze and let it all dry & fire him again,
to Cone 06 this time.
As long as I don't do something stupid and break him while he's still greenware,
he should turn out pretty good!
I'll have to make some other pieces to fire with him, so it may be a while
before he gets fired.
***************************************
Feb 10/10 update:

In case you're wondering... he's finally completely dry, and I've spent quite a bit of time, softening his features. As I've gently cleaned (sanded) his rough edges, he's evolving into
a gentle and curious young horse. I love his round backside view,
but his soft nose and mane have turned out nice too. He's almost ready for his 1st firing, but not likely to happen in the next few weeks.
While he patiently waits, I've got major stress at work to deal with. Sometimes reality bites, this is one of those times... my clay will be an escape.
*********************
Jan 20/12

This poor little guy has been waiting so patiently... I fired him last year (2011). I was going to glaze and then fire him again, but it's going to be a while before I have enough pieces ready to do a glaze firing, so I've started painting him instead.
One of the girls at work suggested I make him a "Paint" horse. I'm not very savvy about horses, but I like the idea, so I looked up photos of paint horses and got to work... he is ... almost finished...


Friday, January 15, 2010

Sharing clay inspiration


If you love to work with clay (or are just interested in it), you don't have to get
messy to be inspired.

Here's a couple of links that I'd like to share with you, ( and I'd be thrilled if you'd add
your own favourite clay links in my comments! )

1) I've subscribed to Ceramics Daily- there's so much amazing info available here:
http://ceramicartsdaily.org/

2) This video is totally inspiring- making whimsical sculptures using a potters wheel:
http://ceramicartsdaily.org/ceramic-art-and-artists/ceramic-sculpture/ceramic-sculptor-gerit-grimm-discusses-her-wheel-thrown-and-handbuilt-figurative-sculpture/


I've been making ceramics from moulds for years, but have gradually been
doing more hand building and slab work, and rarely use commercial moulds anymore.
As I explore different subjects & techniques, I always run into problems.
Frustrating as they are, it's the successful overcoming of all these obstacles that
make a lovely piece all the more valuable (even if only to my eyes :)

The helpful tips and video demos available on-line are just amazing, and are
reducing the "problems" that I run into.

This past week, I started building a clay sculpture of a horse- something I've been
meaning to do, yet never got around to, until now. (Spurred into action by the video
mentioned above.) *yes, pun intended*.
Anyhow, I wish I'd taken some photos, right from the beginning, but just thought of it now.
I'll try & get some photos & post them here.

I've got 5 days off (from my day job), and plan to spend as much time as I can,
working with clay.
I hope you enjoy the video.
Have a great weekend.


Saturday, December 19, 2009

Glaze loads

I just love glaze firings.
Not the process so much as the results.

It's always with anxiety, that I open the kiln to see
how the load turned out. (Especially when there's a couple of
pieces being fired for someone else.)

Here's a link of all the pieces from this load, (scroll over each
item to read more about it.)
http://www.flickr.com/photos/12928209@N04/4198973856/

The kiln gods must be appeased. If enough of me has gone
into the work, they usually turn out well.
But there's often a piece or two that don't quite work out,
or (as in this case) a lovely piece that gets damaged.
One of my sun faces had a witness cone melt onto it. DAMN!
A small disappointment, that can easily be resolved.

I made some wall scones, for dried flowers, and they turned out very well.
I also made a couple of little bowls with a heart in the middle.
I like the smaller one, and will experiment with the darker one. I'm gonna
touch up the heart a bit & re-fire it.
The lily candleholder is complete & I'm really happy with the way it turned out.
The eyeball is a bit weird, but cool.

Some of the smaller pieces are for jewelry, so they will need to be assembled.

Eventually I'll probably list some of these items in my etsy store:
http://www.etsy.com/shop/smilingbluedog

But if you are interested in something, just contact me: smilingbluedog@yahoo.ca

Wednesday, November 11, 2009

Hatching baby dinosaur


I've neglected my blog for some time now.
*wondering if anyone even noticed*.

My excuses?
I've been busy working at my day job, dealing with day to day life,
which keeps me busy, but it's not particularly interesting to write or read
about.
My "spare"time has been spent learning to use my new computer, but I'm
catching on, and have even spent some creative time in my studio again.
That's the stuff I'd like to be writing about.

I thought I'd show-off my newest listing in my etsy shop.

It's a hatching baby dinosaur! I think it's a pterodactyl, (does spelling count?)
I bought the greenware from a ceramic store, a long time ago.

I cleaned, underglazed and fired it promptly (thank goodness), because it's a lot easier
to store bisque than greenware, especially if you end up moving, like we did.
So I glazed the eggshell, and fired it again. Then packed it away in a box with many
other partially completed pieces.
Now that I have my studio space set up, I've been unpacking these boxes and am determined
to complete most, if not all, of my unfinished work.
This baby was a labour of love, and I hope someone will treasure it.
I also have a couple of hatching baby dragons that I need to finish up as well.
They're adorable too.
I find it takes such a long time from start to finish, let alone photographing & listing
on my etsy shop. At least I don't have to worry about them "growing up" in the mean-time.
I'll try & add a photo here, but just in case that doesn't work,
here's the link to my new listing of the hatching baby dinosaur: http://www.etsy.com/view_listing.php?listing_id=34281886

Saturday, March 14, 2009

Coming to terms with clay.

I was wondering how many folks are familiar with some of the basic terminology
used in a mud shop? (other than mudders of course:)
After listing a couple of "slip-cast, bisque ware" pieces on my Etsy store... http://www.etsy.com/view_listing.php?listing_id=20570255

I realized that I was using clay-speak which may not be well understood by everyone.
So I thought it might be a good subject for my blog.

First of all there's numerous names and types of "clay". I've divided them into two categories:

Manmade- polymer clay, fimo, resin, plaster, paper mache, playdough are some examples
of what are often called "clay".
There are so many types of manmade clays. They are great for the novice AND the pro.
The best part is that no special equipment (kiln) is required, so it is accessible to everyone!
Although they can be pricey- the size of your creation will have a big effect on the cost of your materials.
-some come in a block, in assorted colors,
- others are powders that you mix with water.
- you make your item, then let it air dry.
- Some types will harden and be finished,
- others just need to be painted at this point.
- Then (for some types) you must bake it in a (regular household) oven,
(to maintain the permanent shape,) and may or may not need to be
painted or sealed.


Natural clays-
Earthenware, stoneware, porcelain, bone china, Hi-fire, Low-fire, terra-cotta are some examples of natural clays. Most are processed to remove impurities, and to alter the plasticity of the clay.
Here's a link for more great info about natural clay: http://www.kitcornellpottery.com/teaching/clay.html

These clays are all very breakable in the greenware stage, and must be fired to maturity to make them strong and permanent.
Earthware- low-fire opaque clay
Stoneware- Medium to High-fire opaque clay
Porcelain- High fire clay (often somewhat translucent.)


Terms often used for natural clays:

Bisque: Clay that's been fired once, often to maturity. It is strong and ready to be
displayed, but more often is painted (or stained), or can be glazed and then fired again.

Cones: Used to determine maturity of clay as it's being fired. (kind of technical, I'll add a link
here soon)

Firing: Heating clay to maturity, where it is no longer porous. Usually fired in a kiln.
Mudder's don't usually use temperature to describe how it's been fired, we use "cones".

Greenware: Clay that's been shaped into a form and dried.
It is very fragile at this stage. If an item is broken at this stage, it can sometimes
be fixed or more often, pulverized, water added, and re-used.

Leather stage: When clay is partially dry, it is great for carving details and holds it's shape, but is
very breakable.

Mudder: A person that works with clay.

Slip: Liquid clay used to pour into a mould, (also great for fixing broken greenware.)

Slip cast: A piece that was made by pouring slip into a mould, allowing some of the moisture
to be absorbed by the mould, removing piece from mould, allowing it to dry.

Whiteware: Is usually a plaster piece ready for painting, sometimes used "incorrectly" to
describe bisque ware.